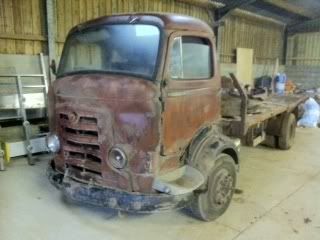
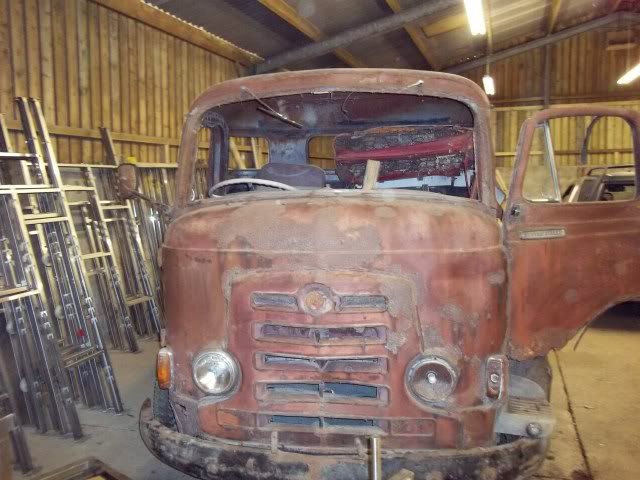
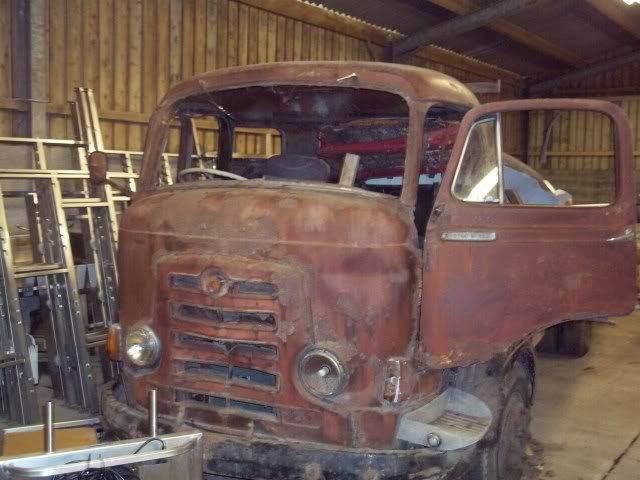
The old girl started her life in Sheffield carrying machinery about. Apparently, during the 1960s it was purchased by a farmer in Devon and was used for farm related transportation. Through change of circumstances, lorry was sold on. Then a few years later, re-purchased by the same family with a view to restore to her former glory. The Gamecock was parked up in a barn and that's where it stood for the last 10 years. She was then purchased by her present owner with a view for a total restore with the objective being to make her into a glorious old lady again with a specific road going future.
At present, we're on the starting line. The old girl as been transported up from Devon and position so that work can commence.
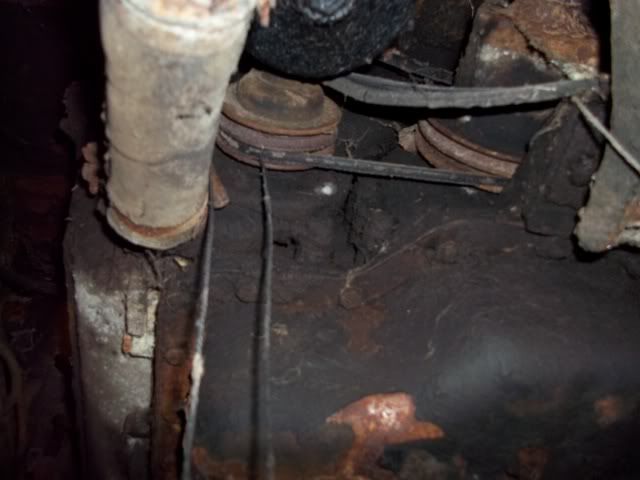
First job is to get it jacked up and have a good look at the condition of the chassis. Then if no problems there, hand crank the engine over to make sure it's not ceased, then sort out the lubricate and coolant, sort out the battery, prime the diesel up and see if it will start. If all that's happy days, then the cab will be coming off for major rust worm surgery. The back will follow although the rust on the back is no where near as bad as the cab.
As we don't want to fly in without first reading 'how to', we've bought a couple of original workshop manuals. Started reading up on a few things, and I now understand where the term 'grease monkey' came from. It was quite an eye opener reading about the amount of components that needed regular lubricating and mechanical adjustment.
Straying off topic - the actual manual was a work of art from a previous printing era. Being in the printing trade, I know what would have gone into producing this book, All the illustrations hand drawn and air brushed, then printed letterpress with deep etched zinc blocks. Because I don't want spoil this manual with greasy mits, and with no copyright disclaimers from that era, I'm going to scan the relevant pages that I need, save as PDF and read on my laptop when the work commences proper. How about that for a 60 year jump in technology.
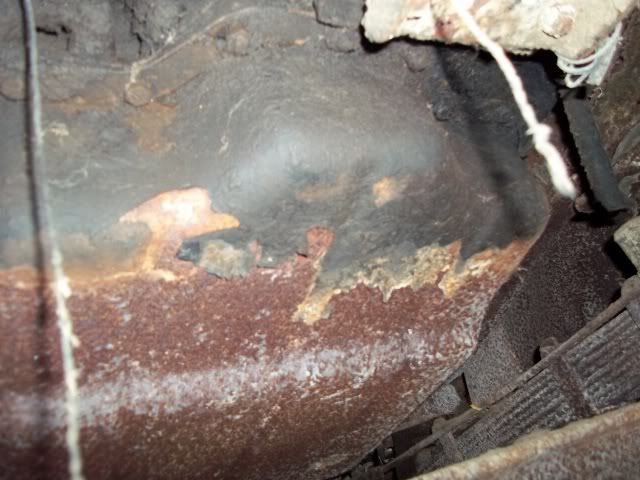
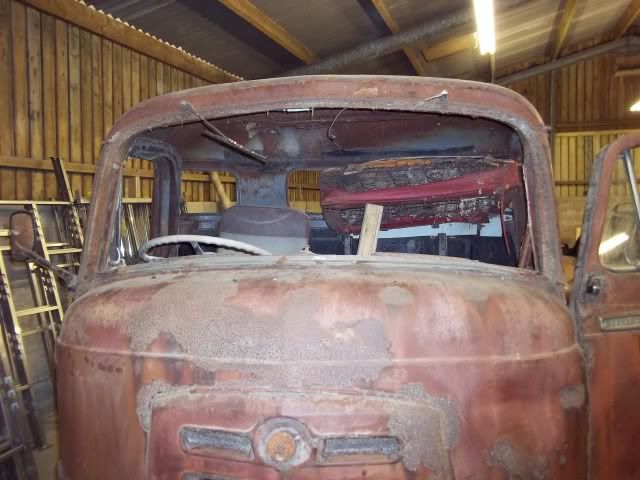
The off side front wheel arch is going to need major metal surgery
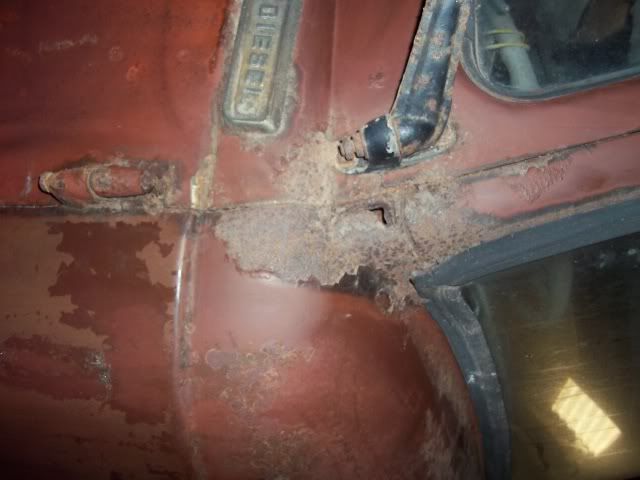
The nearside A pillar is also going to need serious attention
The nearside rear quarter
The fuel filter is going to have to be checked and cleaned as one of the first steps before initial start up
How about this for the electronic brains from a by-gone age. No ECU to worry about here
No pulling the dashboard out on this old girl to get at the heater matrix

The nearside rear quarter roof corner

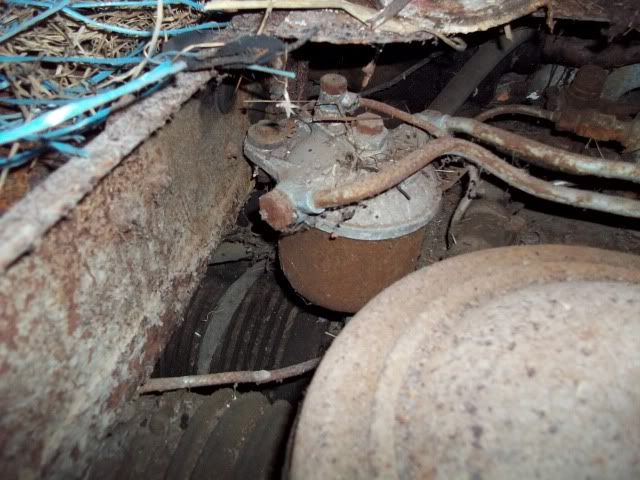
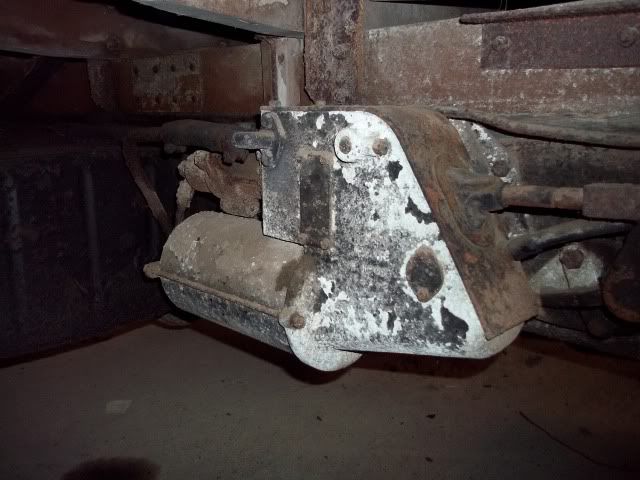
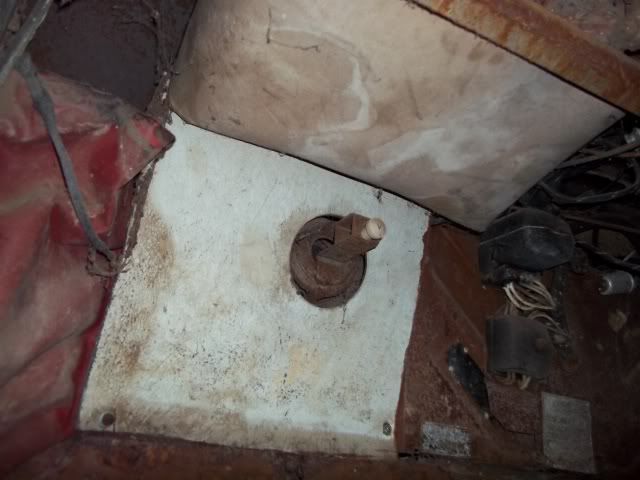
Believe this to be the fuel lift pump. Amendment, I now reckon this component is the brake vacuum servo.
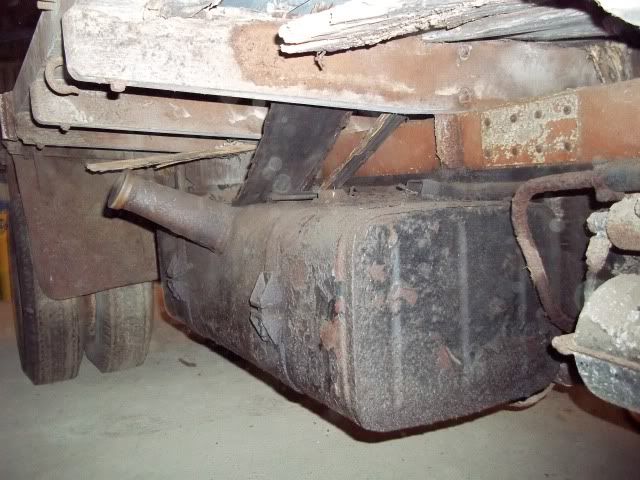
The fuel tank doesn't look to bad, but will probably get a reline to stop any rust debris getting into the fuel lines at a later date
Got first sights of the legendary 'blower' from the TS3 diesel engine
Initial inspection of the chassis doesn't look to bad, giving the first green light to progress the restoration
Brings reality to the age of the old girl when it becomes apparent how much wood was used for the load bed
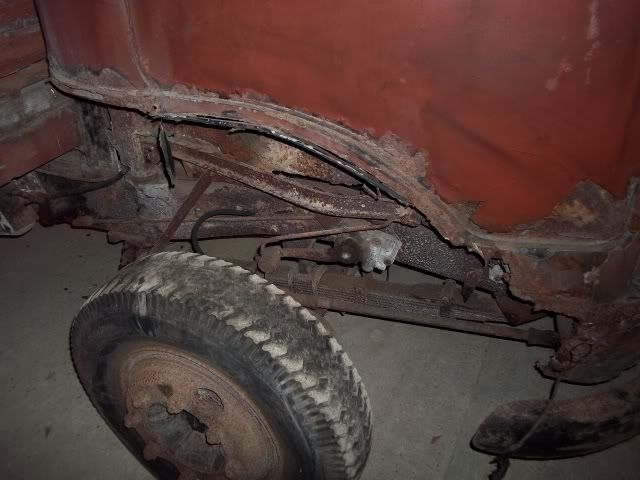
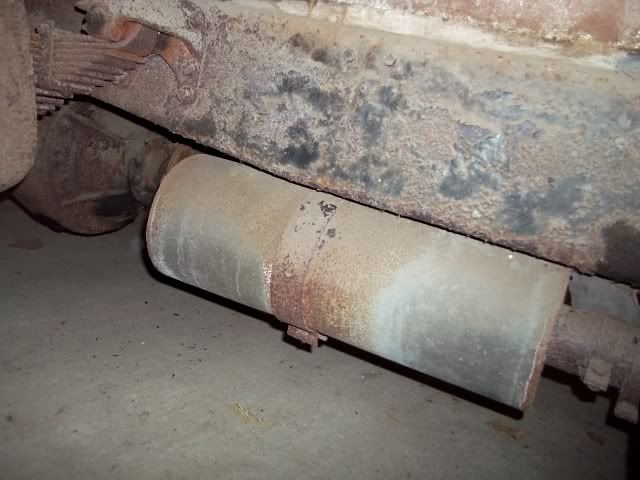
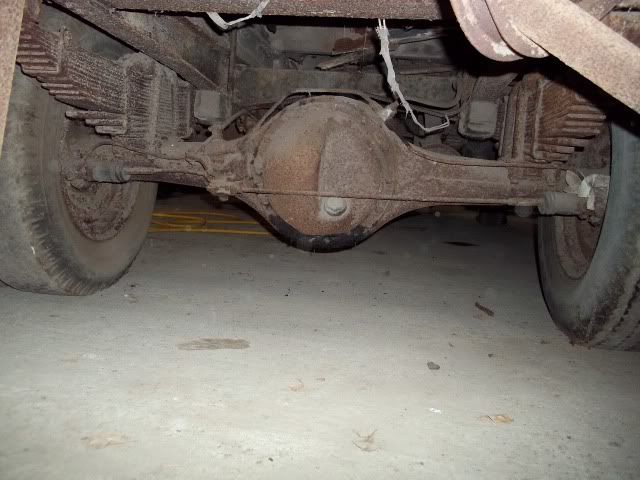
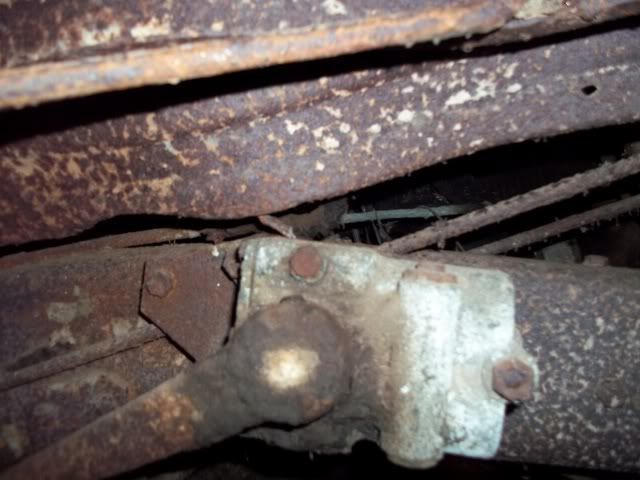
The rear axle with the leaf springs
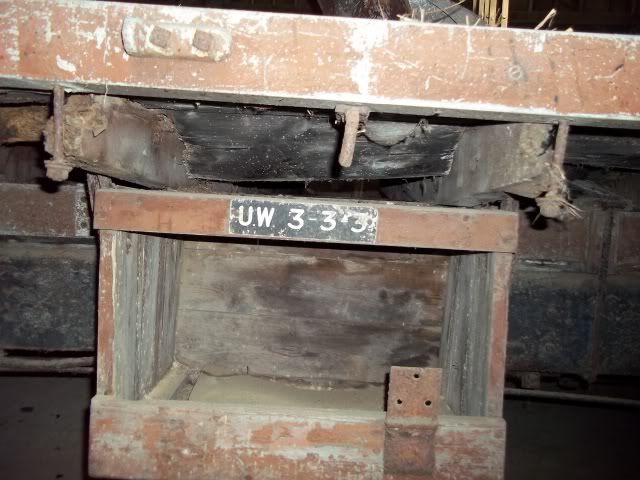
No word of a lie, this is the lockable glove box - only it's on the outside underneath the platform back. Found a real old fashion 'jail keepers' key inside the cab and then when I saw locking mechanism part of this box I realised what it's used for
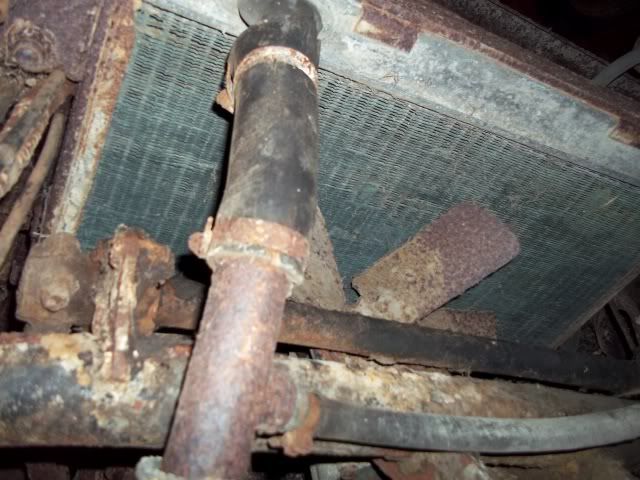
Bearing in mind the size of the grill, I imagined there would be a size able radiator underneath. Not so, in reality the radiator is probably not alot bigger than a standard car rad.
Although not that clear in this picture, to cater for with width of the TS3 engine, the sump is very noticeably wide
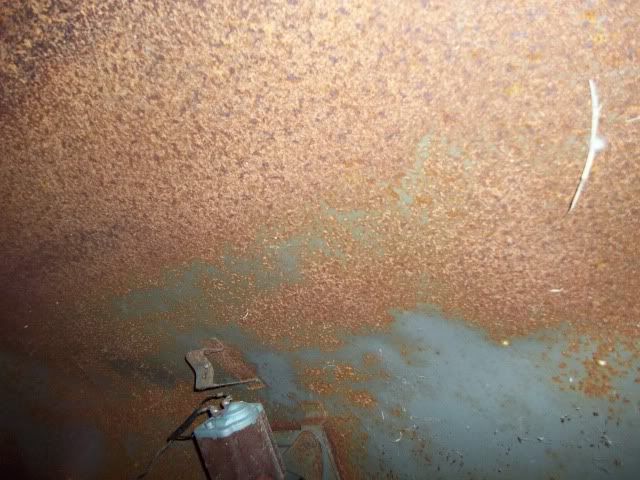
The sump doesn't look likes it's gone porous and leaking, but will need a repaint job
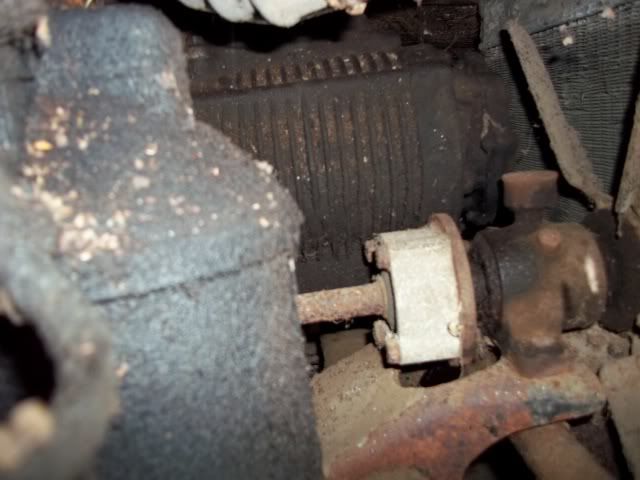
I may stand corrected here, but my belief is that this is a front suspension damper - a predecessor of today's shock absorber
Update dated 9th August 2012
About four weeks ago, we had a professional bodywork guy come in to access if the cab was viable condition to restore. Pleasing comment when he said he had seen alot worse in his line of business. Que to start the dismantle.
Round One was to remove all the glass so started the first salvo
by removing the cab lining. Realisation hits home by how simple the technology
must have been at time of manufacture of this old girl. Self tapers screwed
into a wooden batten. Not a single plastic clip to be found. Then off come the
metal window surrounds - going to need a bit of attention before refit. Out
comes the roof lining, howbeit caved in by the weight of debris on top of it. I
got a full covering of dirt in the process. For all that, the head lining does
come out in one piece. Not so fortunate with the odd bits of lining from behind
the seats but salvageable.
Inner door handle removal proving to be a nightmare. From what I
can see of it, there is a spring loaded escutcheon plates that have to be
pushed inwards to reveal a pin which in turn secures the handle to the shaft. Can't see
if the pins are screwed in or just simply pushed in. Tried in vain for a couple
of sessions to remove the pins but no joy as yet. Decided to move on removing
other elements. Rear quarter half round glass proved not to be so easy to
remove as the flat glass window panel. After cutting strategic parts of the
hardened/brittle rubber surrounds, all three windows came out.
Then the front screen. Again, the rubber surround as hardened and
gone brittle in places. Cut minimum possible along the bottom and two sides
which in turn allowed the main screen to be pushed out at the base. Windscreen
came out relatively easily, but what I wasn't expecting was the width and
weight. Glass must be getting on for 10mm wide and this in turned reflected in its weight. Just the door glass to remove now - once I've sorted how to remove the pins.
Next operation is to remove the seats. Both bases out with both seat uprights to remove. Passenger side giving problems with rusted on bolts but hopefully will offer less resistance once the bolts have been soaked in freeze and shock spray. From there attempts to remove the flooring panels was the next operation. No so lucky here, slow progress with rusted in bolts giving stiff resistance. The idea was that if I could remove these panels, I could then see about disconnecting the foot pedals in readiness to remove the cab.
Here goes with the latest round of pictures.
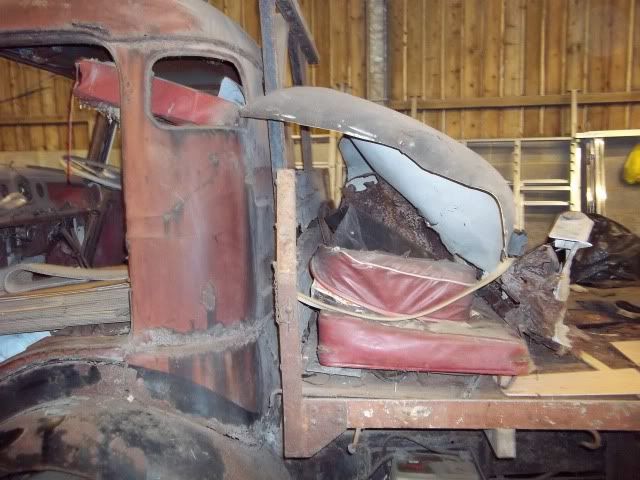
The following picture really shows the caved in head lining and bench seats. From what I can see of it, the head lining was originally made from hardboard and formed into the required shape. I'm hoping we can bend it back to shape and repair. The seats will require a complete rebuild with new foam and covering.
Pictures two and three shows the old girl with the front wind screen removed
Pictures two and three shows the old girl with the front wind screen removed
Picture three is the roof just above the front windscreen. As just can be seen, the wiper motor and linkage is positioned right behind the front windscreen.
Picture four shows the sorry state of the roof. My thinking is that the roof was originally dented in and held water. Consequently the laying water penetrated the roof and rusted through. I'm hoping it can be pushed back to shape, a repair patch maded and welded in.
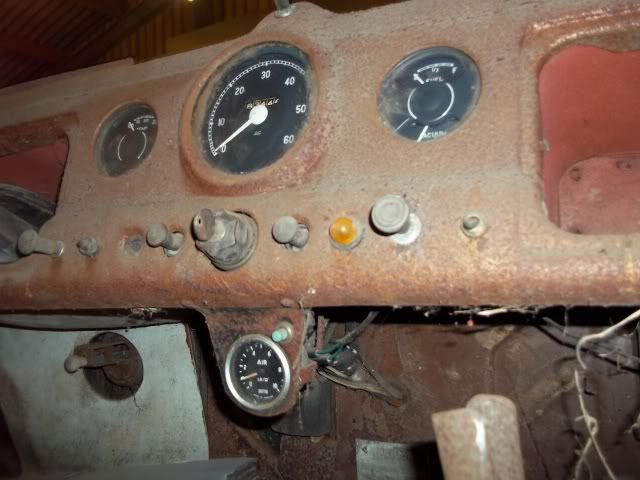
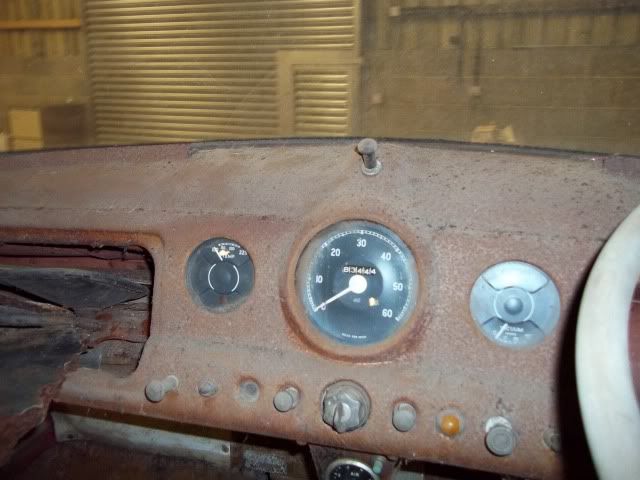
Picture six shows the dials and switches. The dials are in quite good condition but the push switches will need lubricating and freeing up.
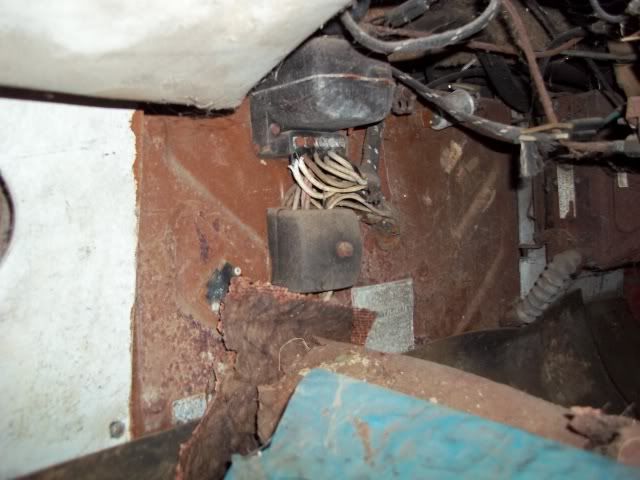
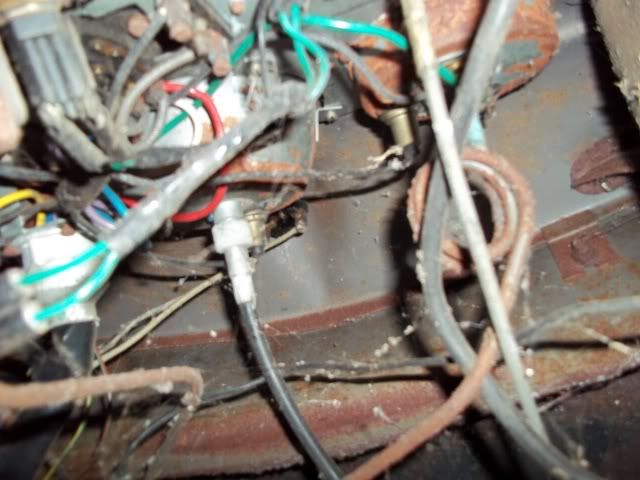
Picture seven shows the wiring and I guess regulator boxes. Would love to keep the original wiring but I'm seriously thinking we should modernise with new wire and circuitry and hide the new stuff and leave the original insitu to make it look authentic. What also caught my eye is the screw valve. I'm thinking this is the main water cut off valve for the heater system.

Picture eight. More of the wiring and what looks like the speedo cable attachment
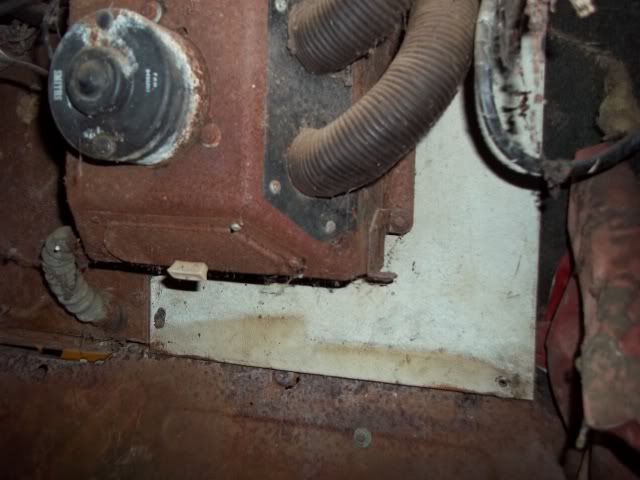
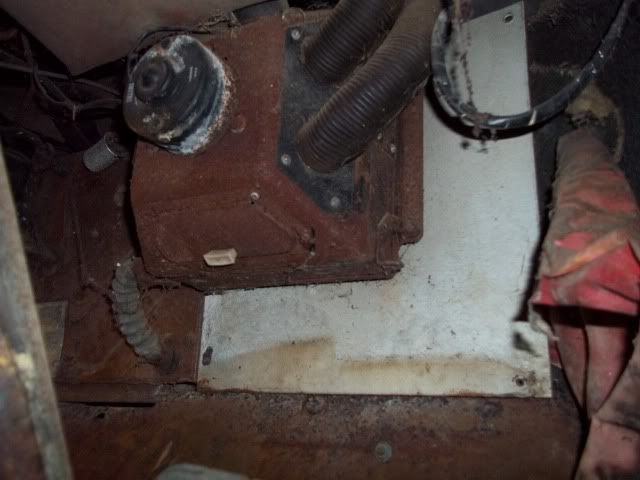
Picture nine shows the heater. Once removed, the condition of the matrix needs to be accessed. Initial thoughts are to restore the casing and so if it's feasible to fit a new modern heater matrix if we can find one that fits.
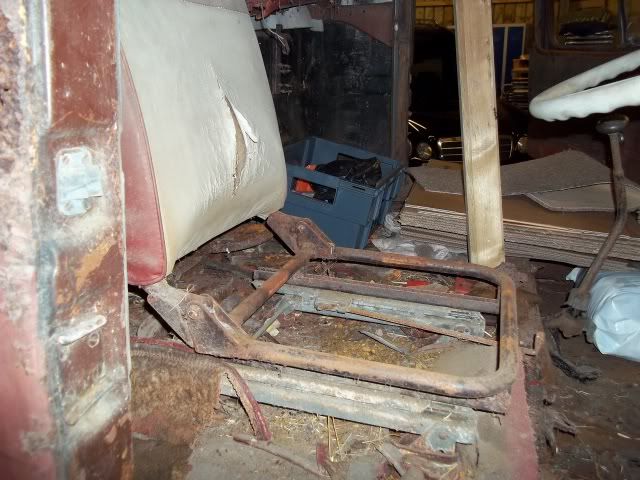
Picture ten shows the driver's seat back and frame. The sliding mechanism needs to be lubricate and freed up, hoping that it will return to its proper sliding/working condition.
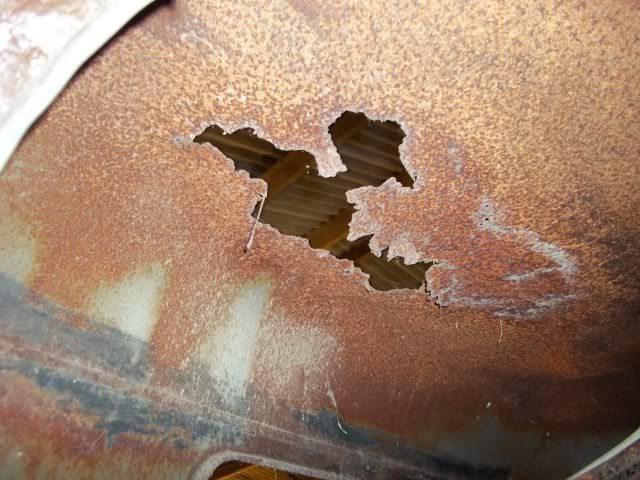
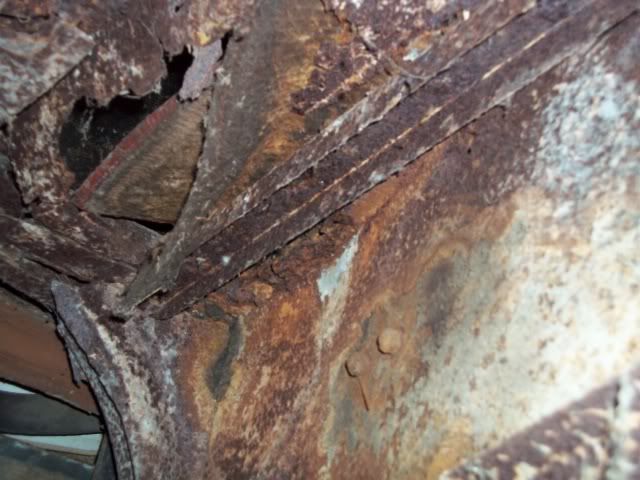
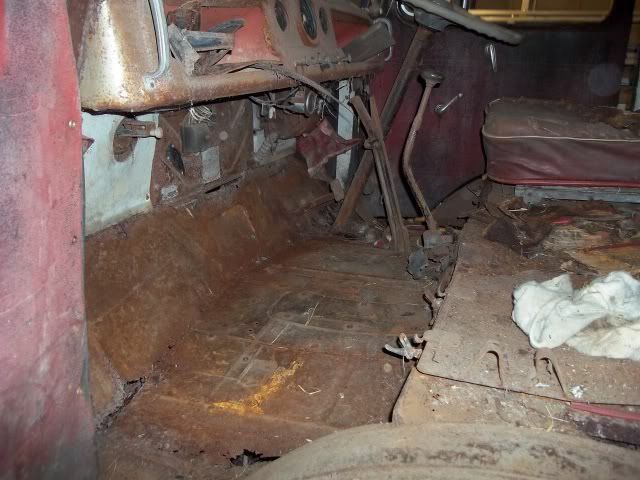
Picture eleven shows the extent of the floor rust. This is just inside between the drivers door and seat. Although it looks extremely bad, the belief is and replacement panel can be made, cut in and welded.
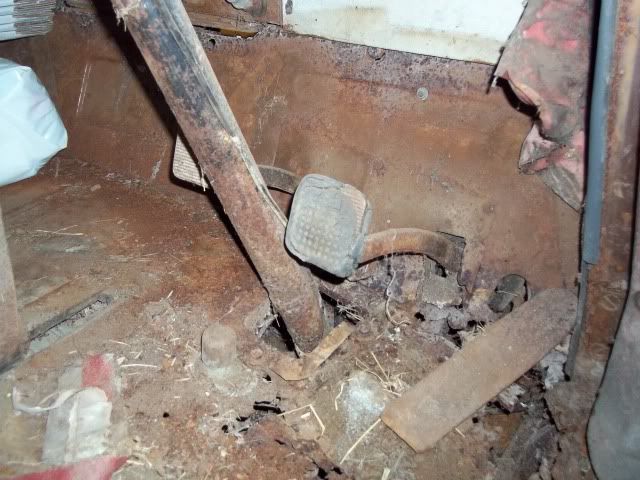
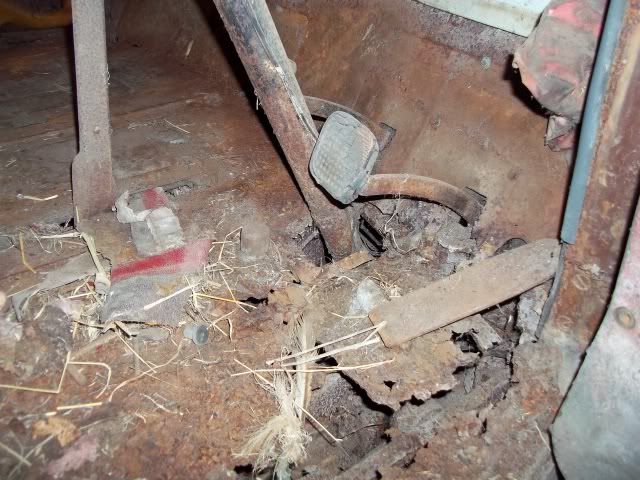
Picture twelve shows the pedals. I need to sort out removal of the flooring panel around the pedals to try and gain access to where the pedals and connected up. Need to do this in readiness for the eventual cab lift. Notice the foot push button behind the steering column, I believe this is the dip switch.
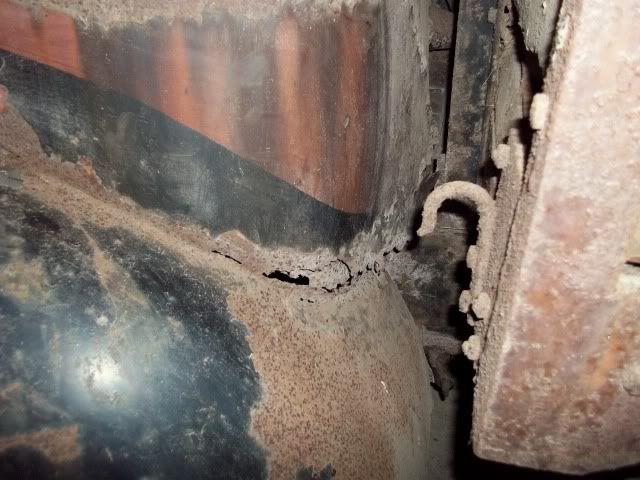
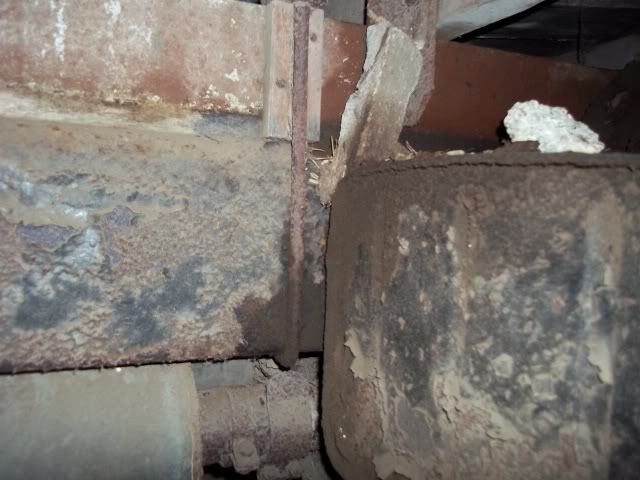
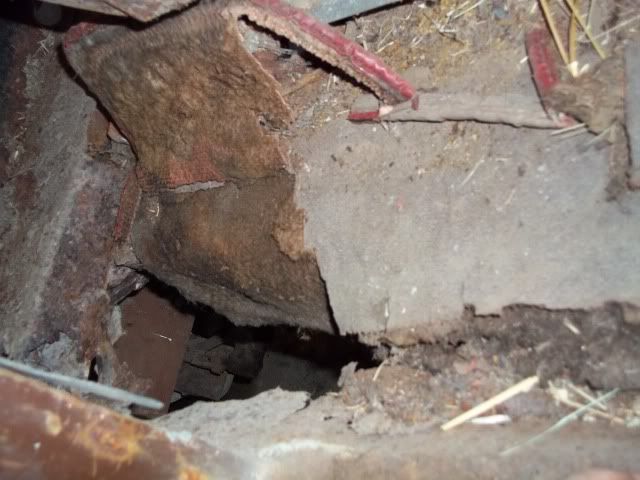
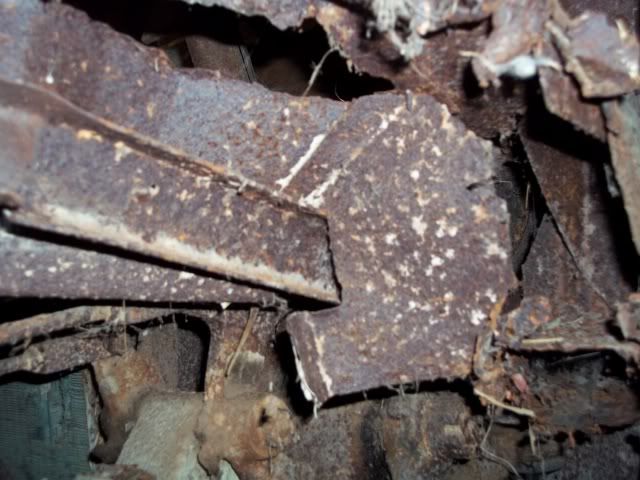
Picture thirteen shows the extent of the rust worm attack below the foot pedals and front offside cab mounting.
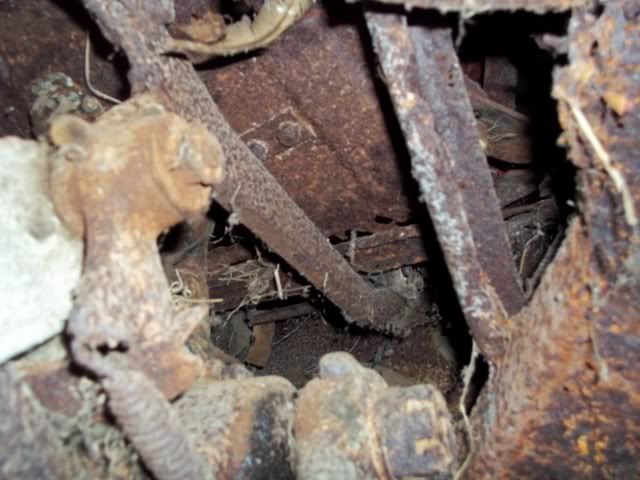
Picture fourteen show the extent of the corrosion as viewed from underneath at the back of the cab between the drivers door and seat.
Picture fifteen show more of the state of the corrosion.
Picture sixteen - another view with the glass removed.
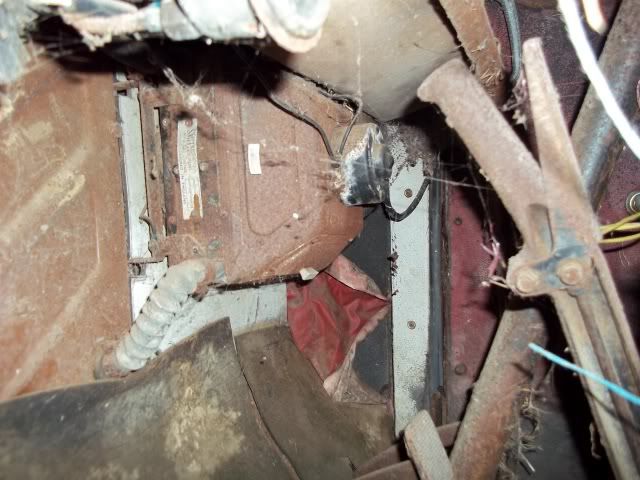
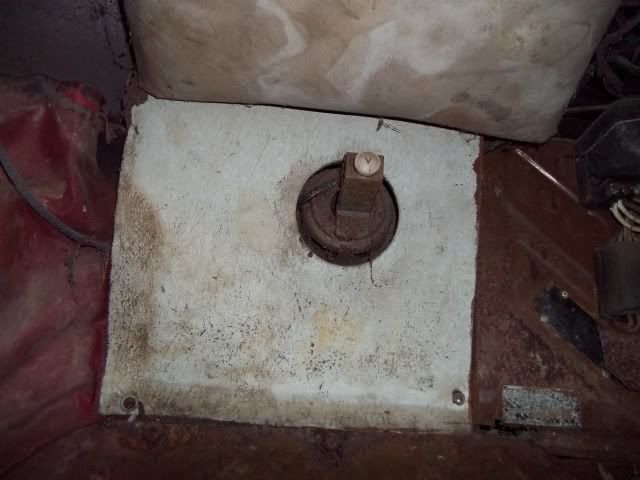
Picture seventeen shows the hardboard panel situated behind the near side headlight.
The button with the 'V' does twist into different positions but need to read up in the manual to see what it's purpose is.
Picture eighteen is another showing the dials. Evidence indicates the old girl as done 83,444 miles. Not made for a 53 year old lorry.
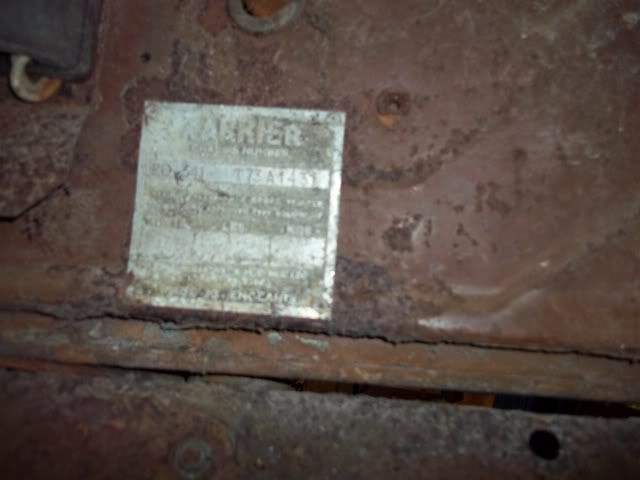
Picture ninteen - the vehicle identification plate. In need of restoring so that we can see the details.
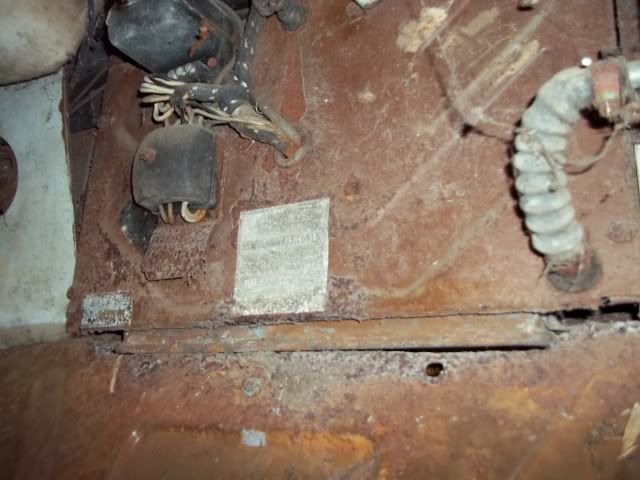
Picture twenty showing the regulator boxes and heater hose
Picture twenty one shows another view of the heater
Picture twenty two - another view of the foot pedals and the extent of the floor corrosion.
Picture twenty three - another view of the wiring on control/switch boxes.

Picture twenty four - another view of behind the nearside front headlight. The box above is the glove box made out of hard board.
Picture twenty five - a clearer view of the cab floor. These a the panels that I'm currently struggling with to get off. Rusted in bolts
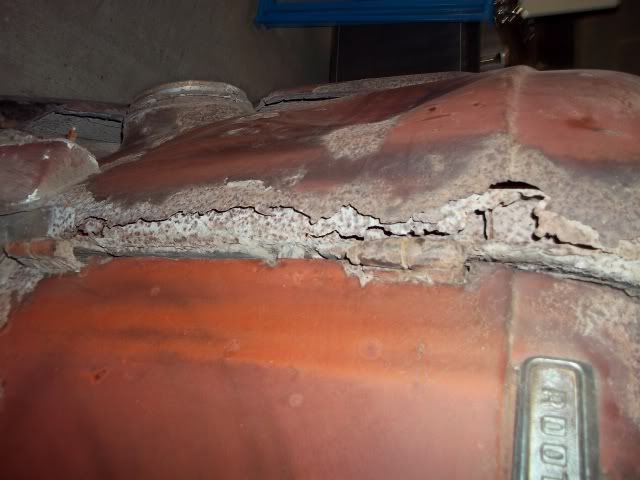
Picture twenty six shows the extent of the head board distortion.

VTG 6 Ministry of Transport Plating Certificate
What I've learnt is an important lesson, do NOT throw away anything because in amongst all the rubbish that was in the cab was the certificate. The information listed and confirms various important details.
Year of Manufacture: 1959
Year of Original Registration: December 1959
Gross weight: 6.6 tons (got to be imperial ton and not tonne) - 6707 kilogram equivalent
Design weight: 6.9 tons (again, got to be imperial ton and not tonne) - 7012 kilogram equivalent.
Other details are registration mark and Chassis serial no.